
This guide will show you how to reassemble your Evo two speed transmission after taking it apart for repair or cleaning.
Assemble the Bottom Shaft and First Gear[]
Slide the parts onto the shaft in this order:
- 6002 Bearing
- Plastic shield with steel tab point toward the bearing
- Steel gear mount
- Place 1st gear pulley on gear mount
- Plastic shield facing opposite direction
Lock the gear mount in place using the set screw and make sure that the 1st gear slides and grabs the right direction. When looking at the shaft from the side you were sliding everything on, the shaft should spin freely clockwise and grab the gear counter-clockwise. If you get this wrong, you won't be going anywhere in 1st gear and you'll cause damage in second gear.


Add the side plates[]
Slide the side plates over the lower shaft. Take notice of which plate the shifter adjuster is on and the direction it is facing. The threaded part part of the adjuster should hang over the cogged end of the shaft, where the 2nd gear pulley will go.
")
")
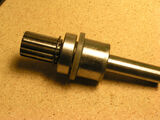
Assemble the top shaft[]
The top shaft of the Evo transmission is perfectly symmetrical (or at least it should be), so it doesn't matter which side the gears goes on, but you have to be sure to get the nylon cams aimed in the right direction. The 6001 bearings which ride inside the cams should press against the smaller 1st gear pulley.
")
")
Add the top shaft to the plates[]
This step is very easy to envision, but difficult to execute due to the tension of the belt. It is a good idea to spin the cams to their most slack position (tabs facing the bottom shaft) in order to release as much tension as possible. This will still take a bit of muscle and finesse.
")
")
")
Add the tensioner pin[]
The tensioner pin and spacer will both help keep your transmission plates spaced correctly and allow the [[[1-touch tension system]]] to work. Make sure the black aluminum piece goes between the plates and the steel pin reaches out over final drive shaft
")
")
Add the cam spacer[]
The cam spacer will allow you to adjust the cams evenly and will also help space the transmission plates correctly. Once you have the transmission assembled, it is absolutely essential that you have this spacer perfectly perpendicular to the transmission plates. If it is not, the top shaft will run slightly crooked which will both push the belts far to one side and stress the bearings.
")
")
")
Construct the lower 2nd gear pulley[]
The lower 2nd gear pull goes together in this order:
- Steel clutch plate
- Padded clutch catch
- Steel clutch plate
- Gear with 6204 bearing pressed in
- Steel clutch plate
- Padded clutch catch
- Black clutch press
Make sure to install the clutch plates so that the cleanest, shiniest side touches the catch pads. This interface is very important so you want it to be as clean as possible.
")
")
")
")
")
")
Install the 2nd gear[]
Getting the 2ng gear installed with the belt is a bit of a trick since the 2nd gear likes to fall apart when you are putting on the shaft. There seems to be no trick to this and you best bet is to just loosen the cam tensioners as much as possible and give it a try.
Once you have everything installed, take a close look to make sure that neither of the clutch catches have fallen out of the pulley.
")
")
")
Install the clutch pressure arm holder[]
The pressure plate holder will both space the clutch plates and hold the clutch pressure arm in place.
")
")
Install the clutch pressure arm[]
This is the arm which will leverage the pressure which engages the 2nd gear pulley.
")
")
Install spacer, clutch plate and clutch bell[]
Use the black set screw from the top shaft to install the clutch plate and clutch bell to the top shaft. Make sure to do this on the 1st gear/final output side of the transmission
")
")
")
")
Install top shaft spacer and support bearing[]
This is located on the top shaft above the 2nd gear and clutch pressure arm
")
")
Install final output pulley[]
Make sure to use a thread locker on those set screws.
")
")
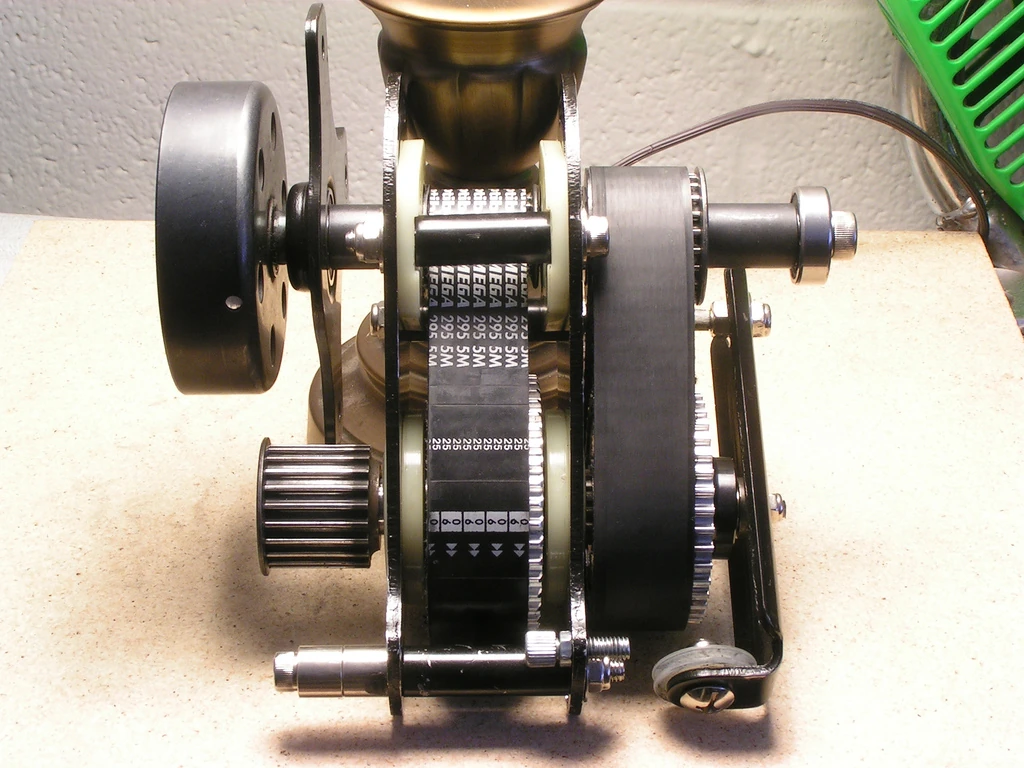
Finished[]
All done! Install it and test it out. Make sure to re-adjust your shifter cable, examine the rotation of the shafts and check the to see if your belts walk[1] at all.
In 1st gear, the scooter should roll forward without moving the belts in the transmission, but while going backward they should all spin. In 2nd gear,all of the belts should spin, but the transmission should catch when you try to roll it backwards.
- ↑ A walking belt is a belt which slowly moves to one side and off of the gear on which it rotates